Installation of mySTOPY
-
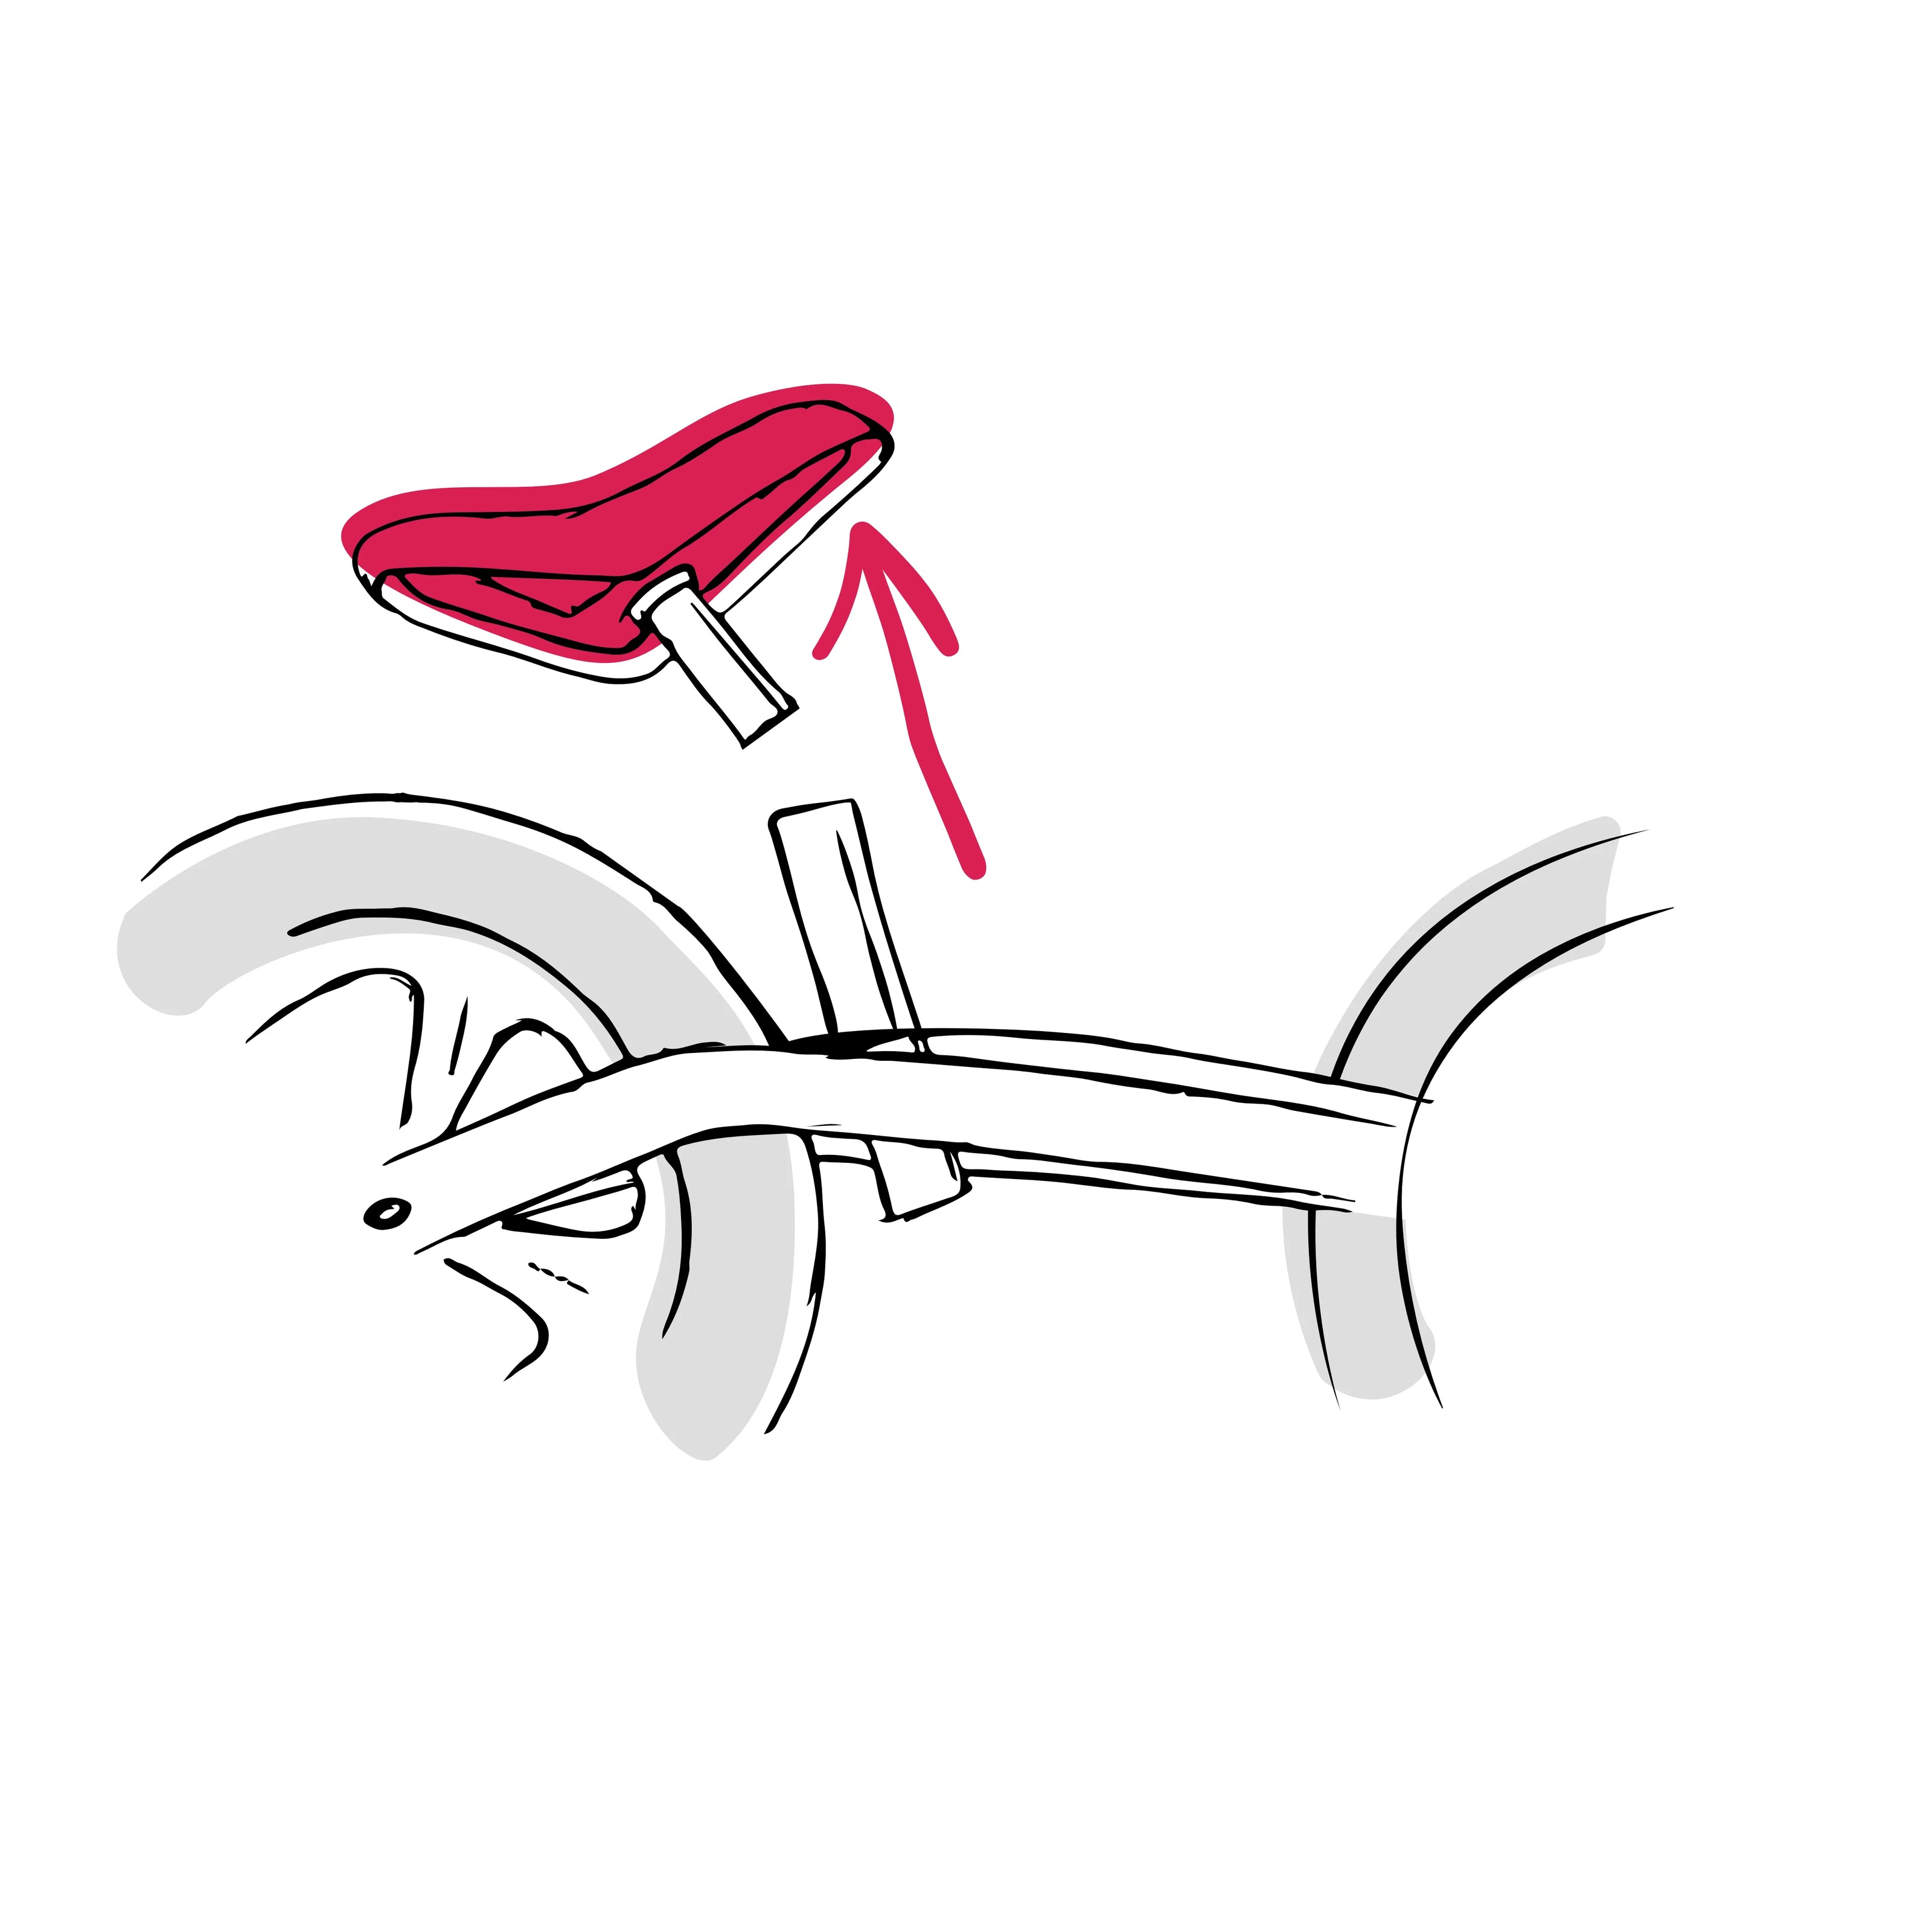
1. Detach the saddle
Lossen the saddle clamp with a 5mm allen key - the screw remains in the saddle clamp. Detach the saddle with the seat post and the saddle clamp from the balance bike -
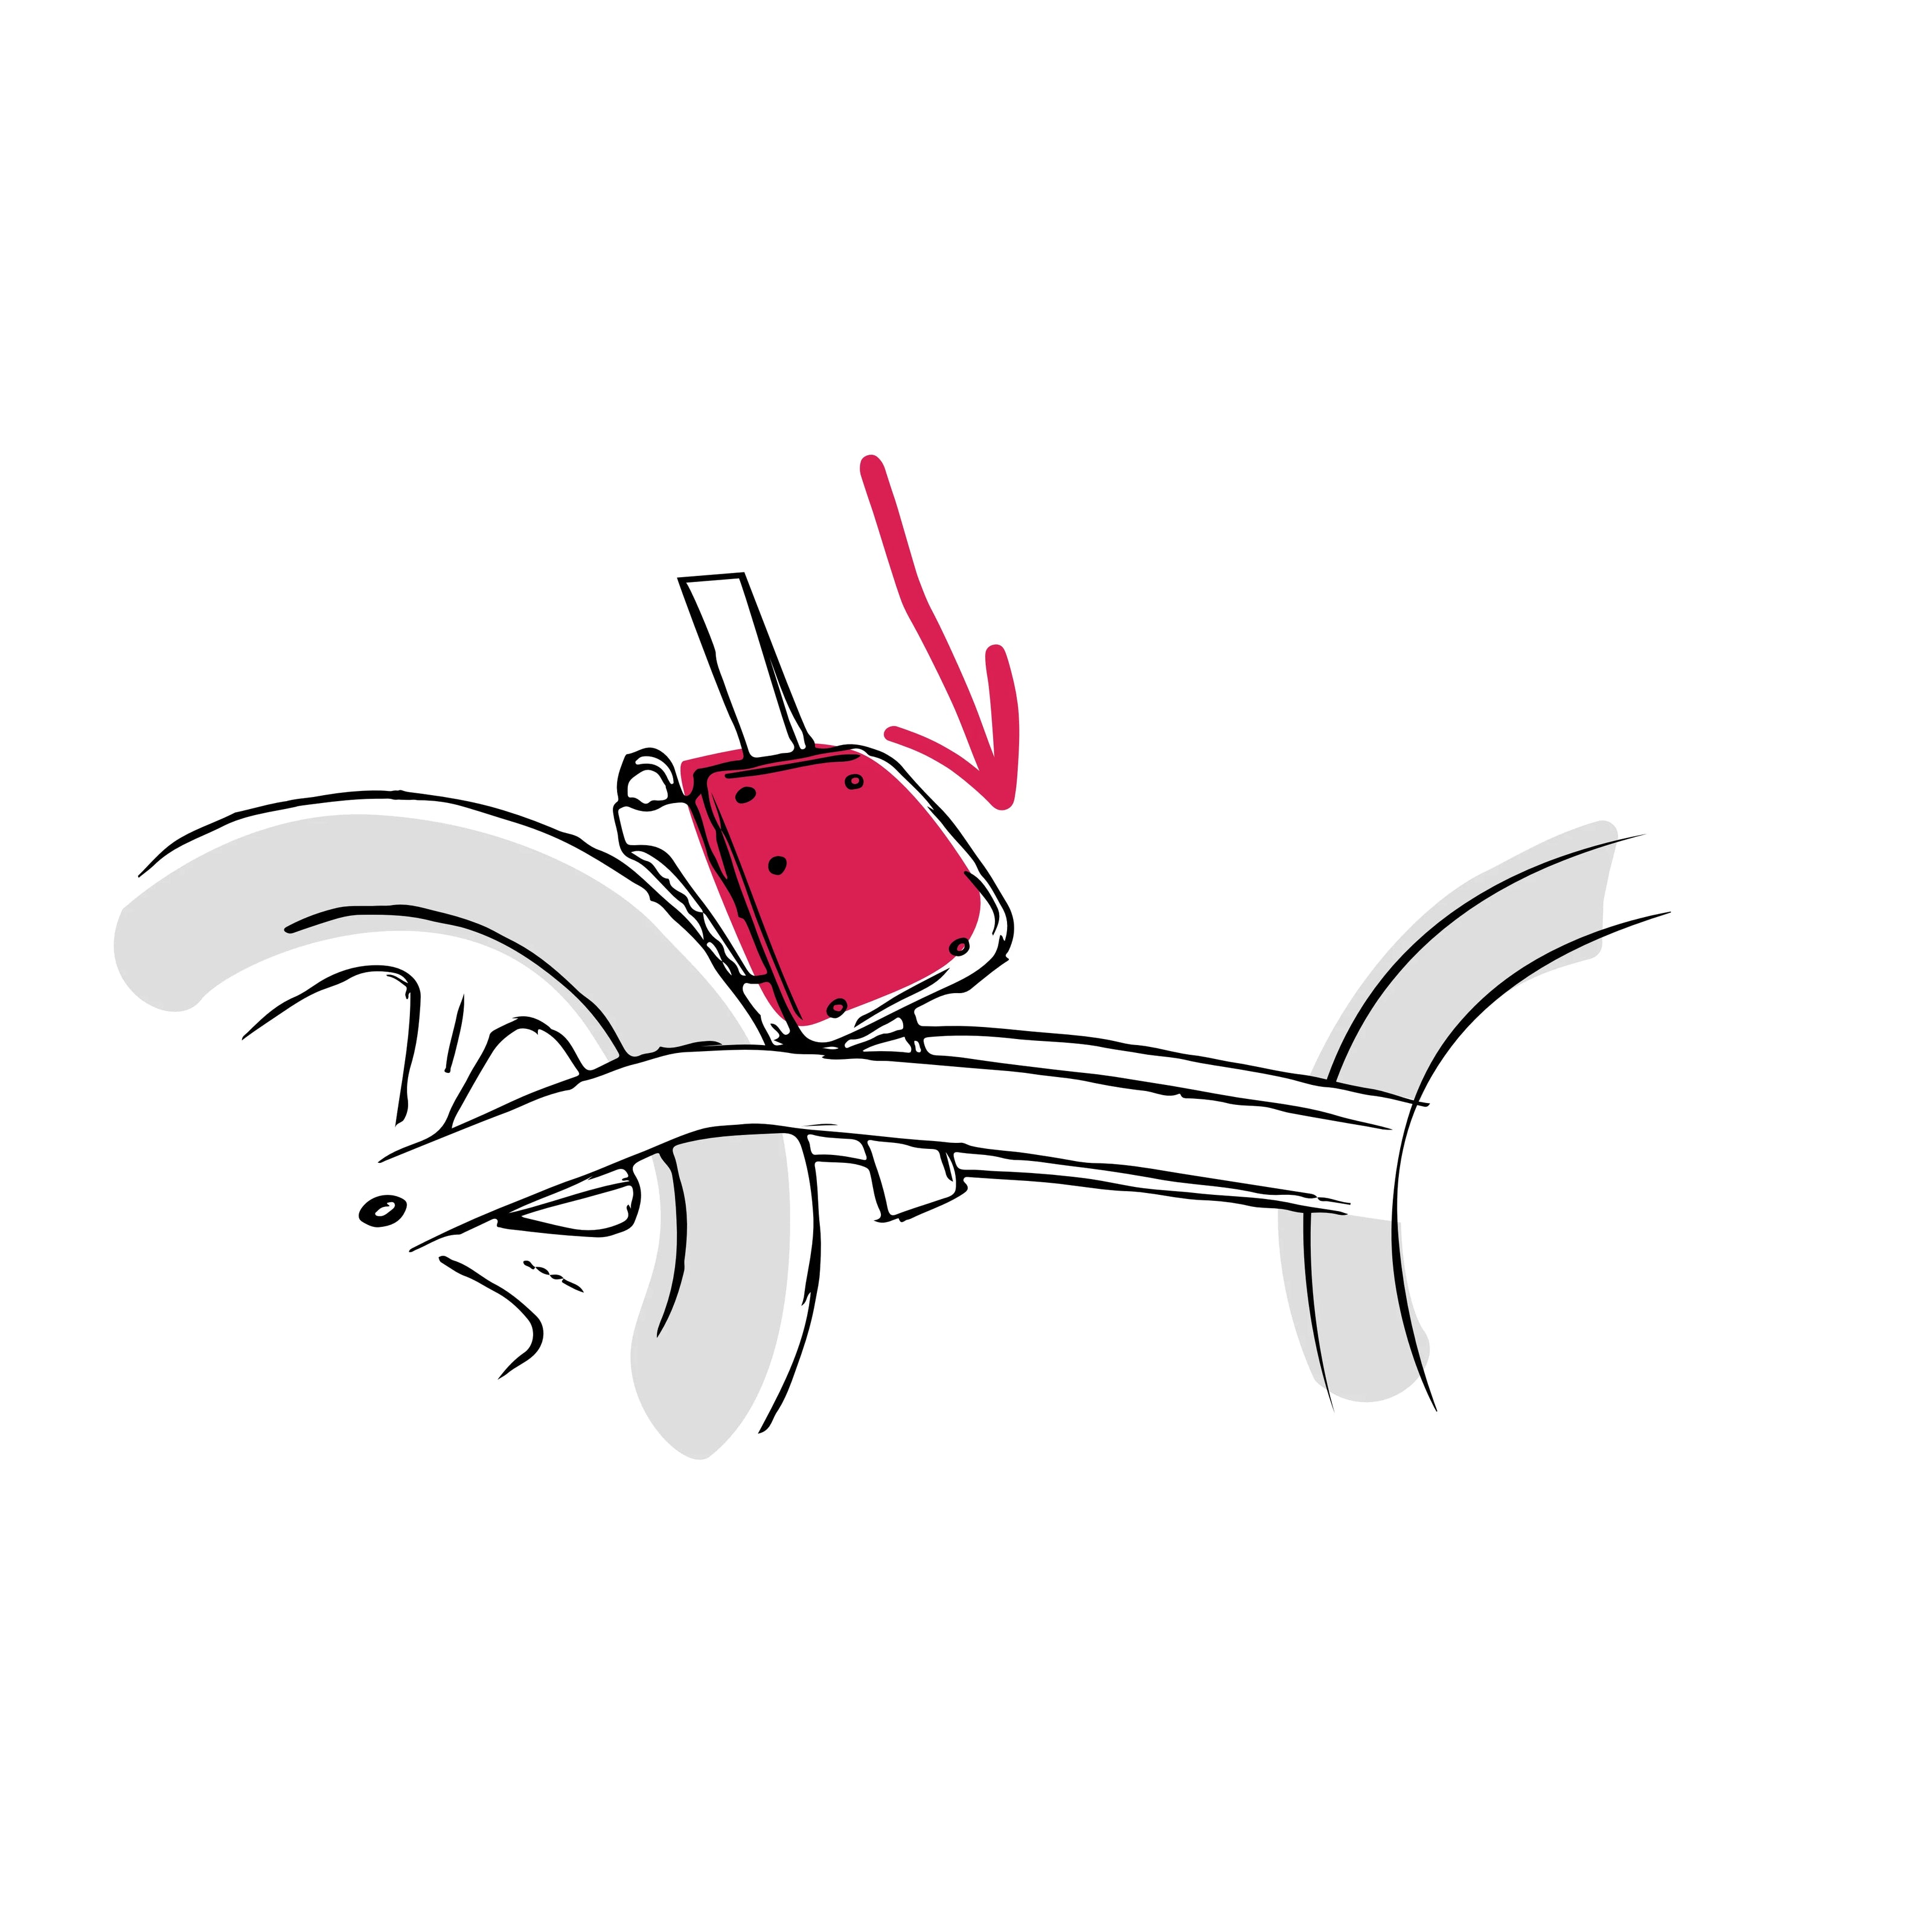
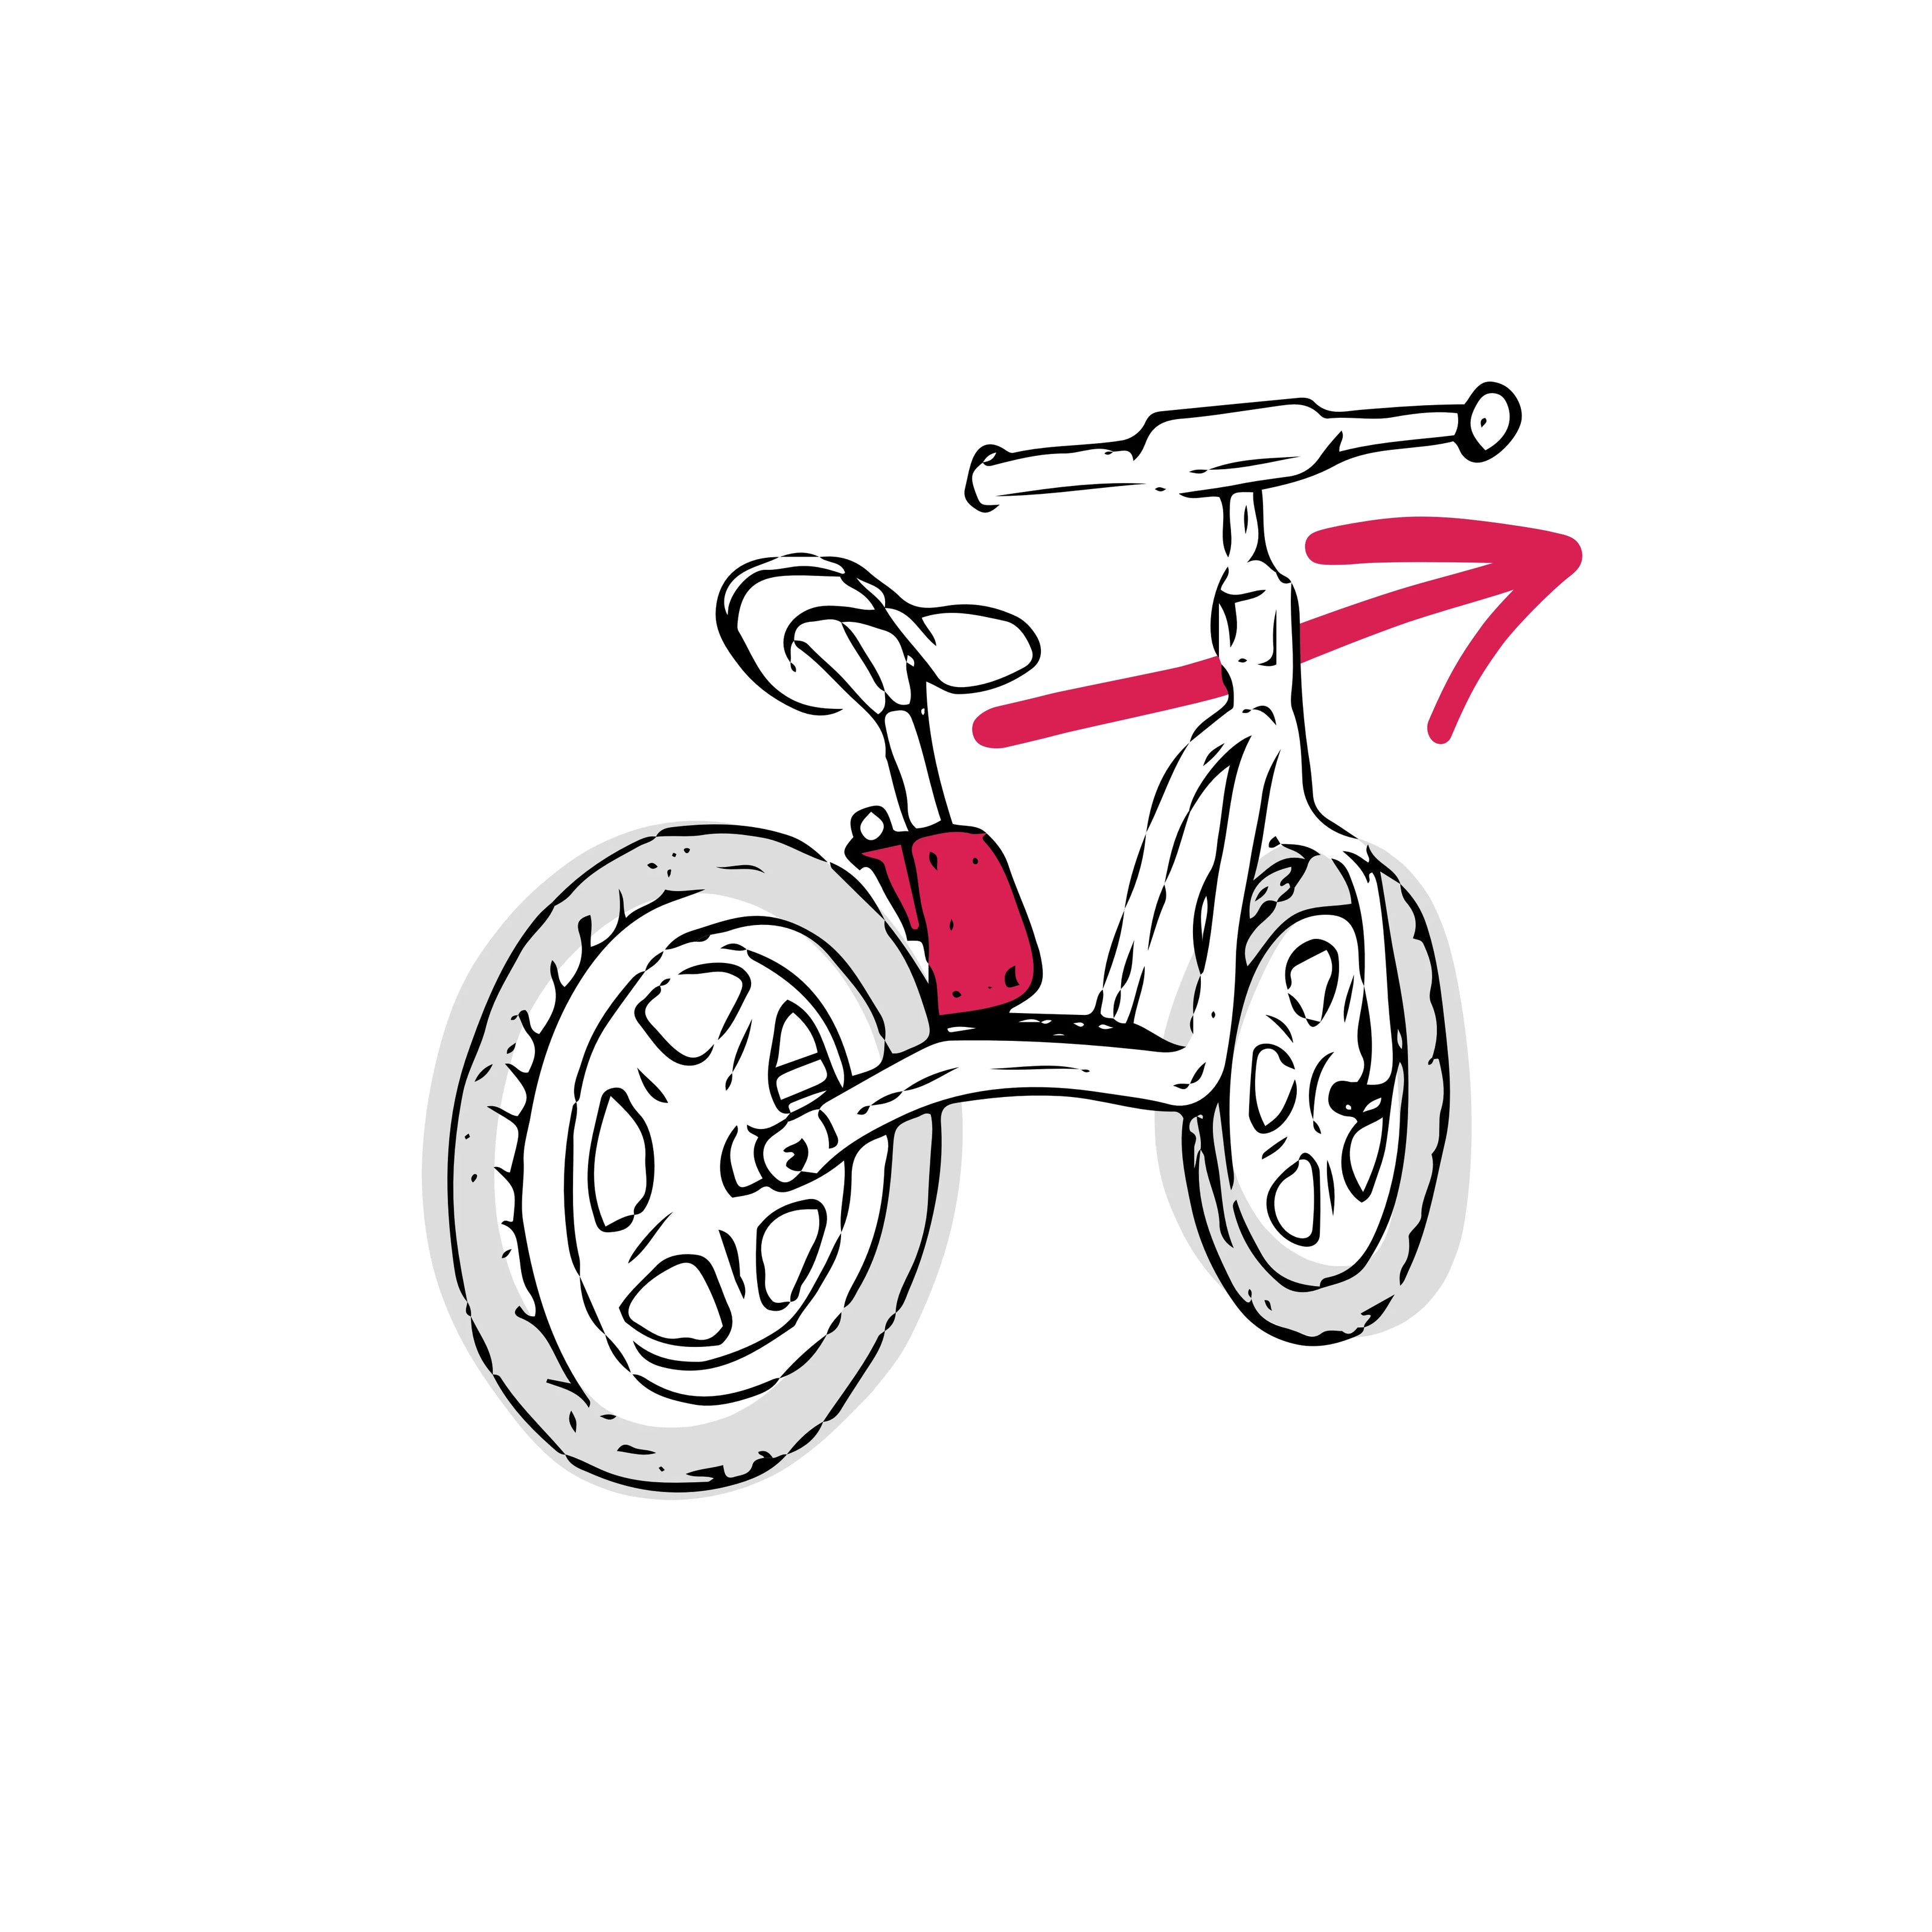
2. Attach the mySTOPY
Attach your mySTOPY on the seat tube. -
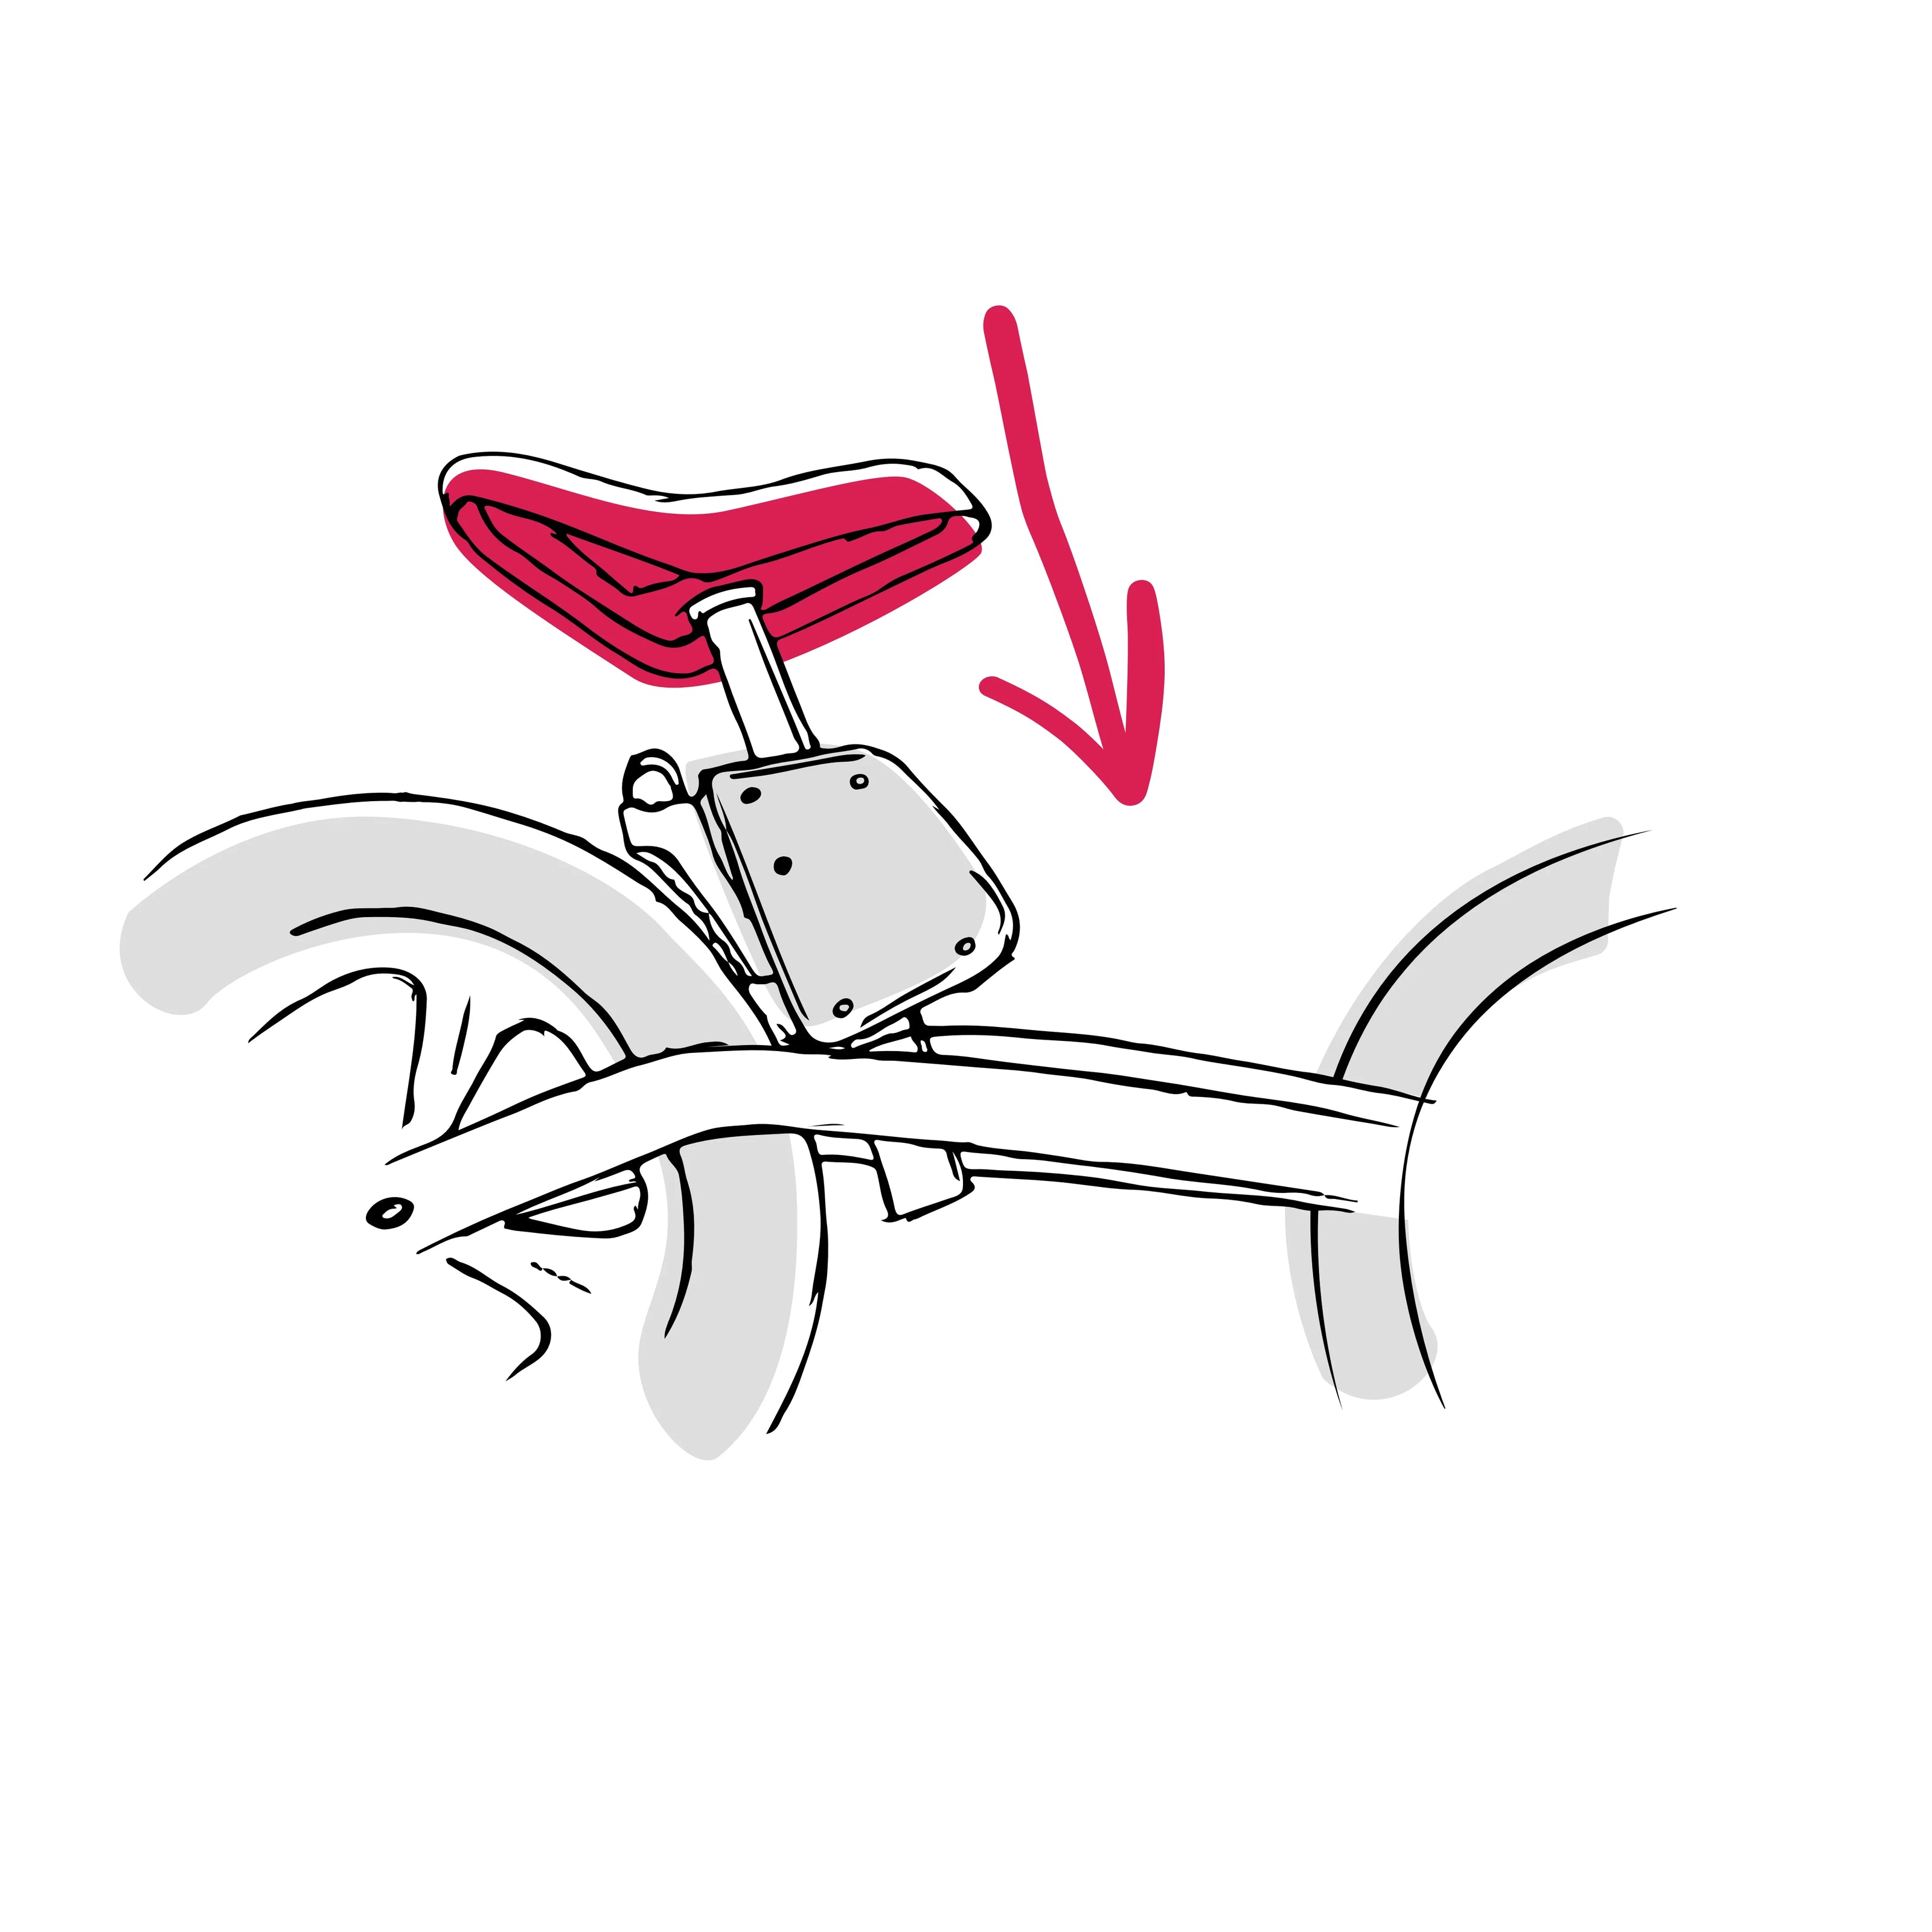
3. Mount the saddle again
Place the seat clamp back on the seat tube and reposition the seat and the seat post in the position which is fitting for your child. Now tighten up again the saddle clamp through the provided slot with the allen key. DONE!
-
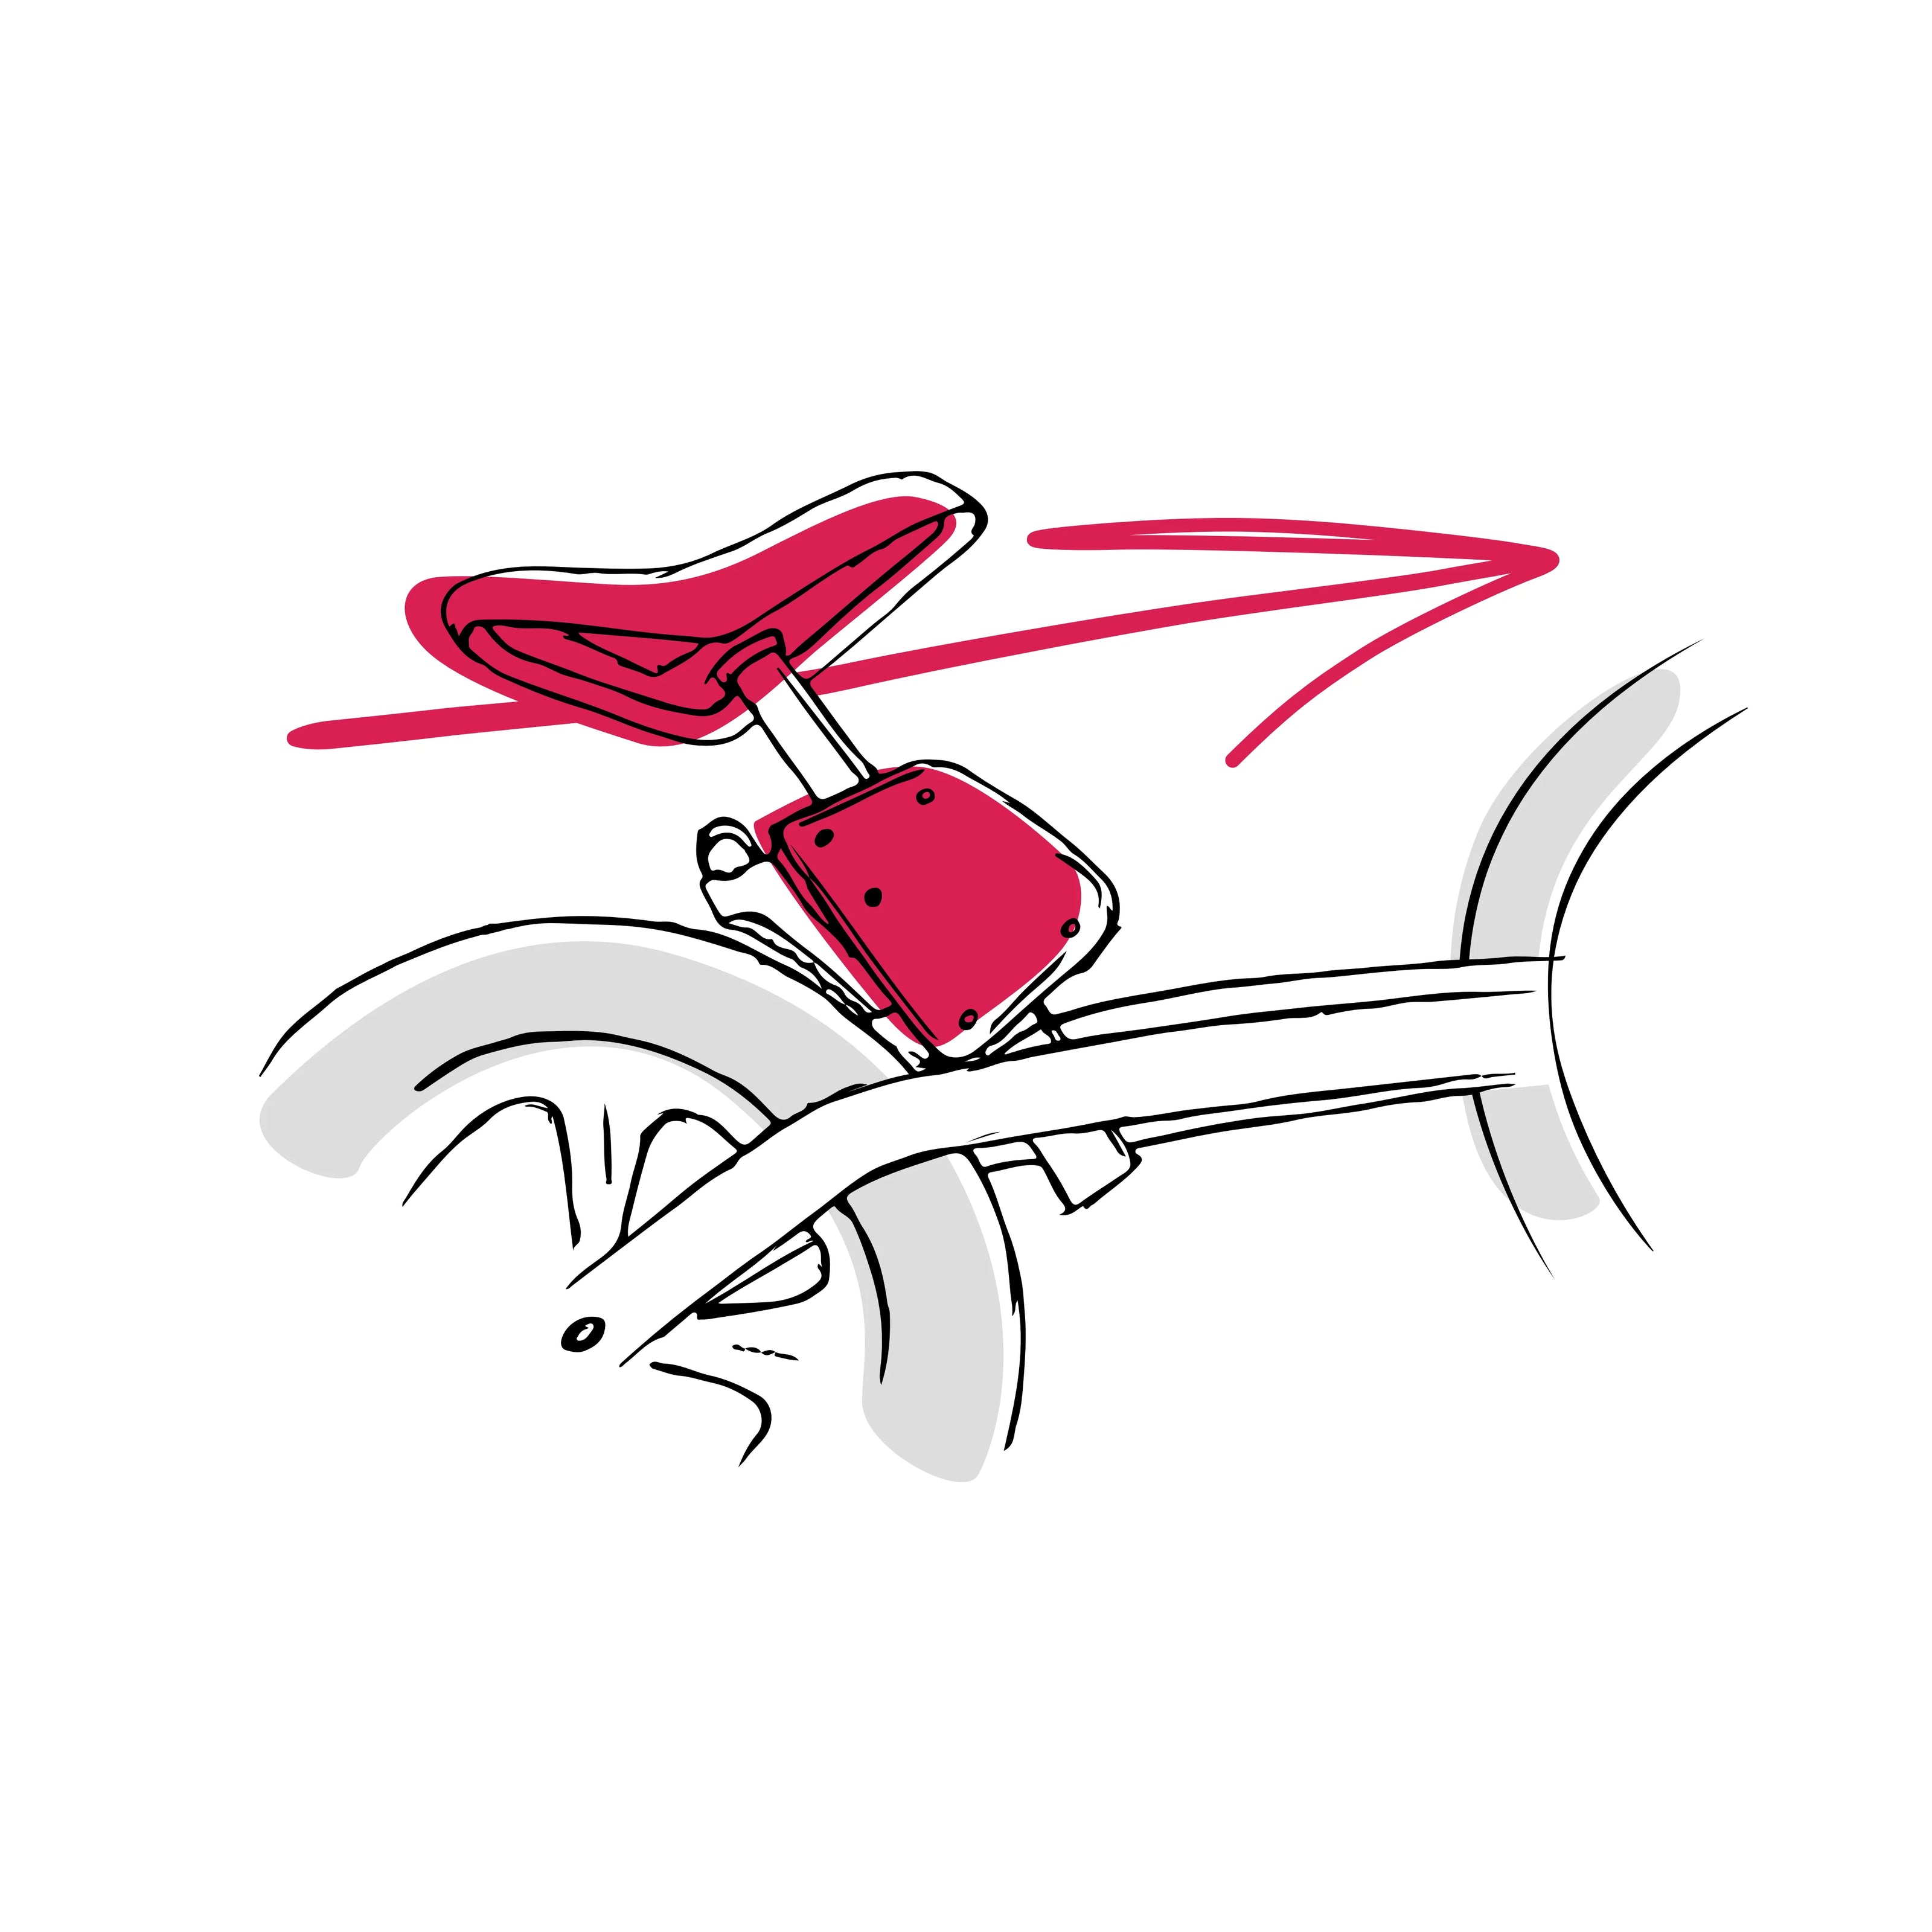
4. You are ready!
Your mySTOPY is installed? How you can switch it on you can check in the next step unter "How mySTOPY works"


How mySTOPY works
-
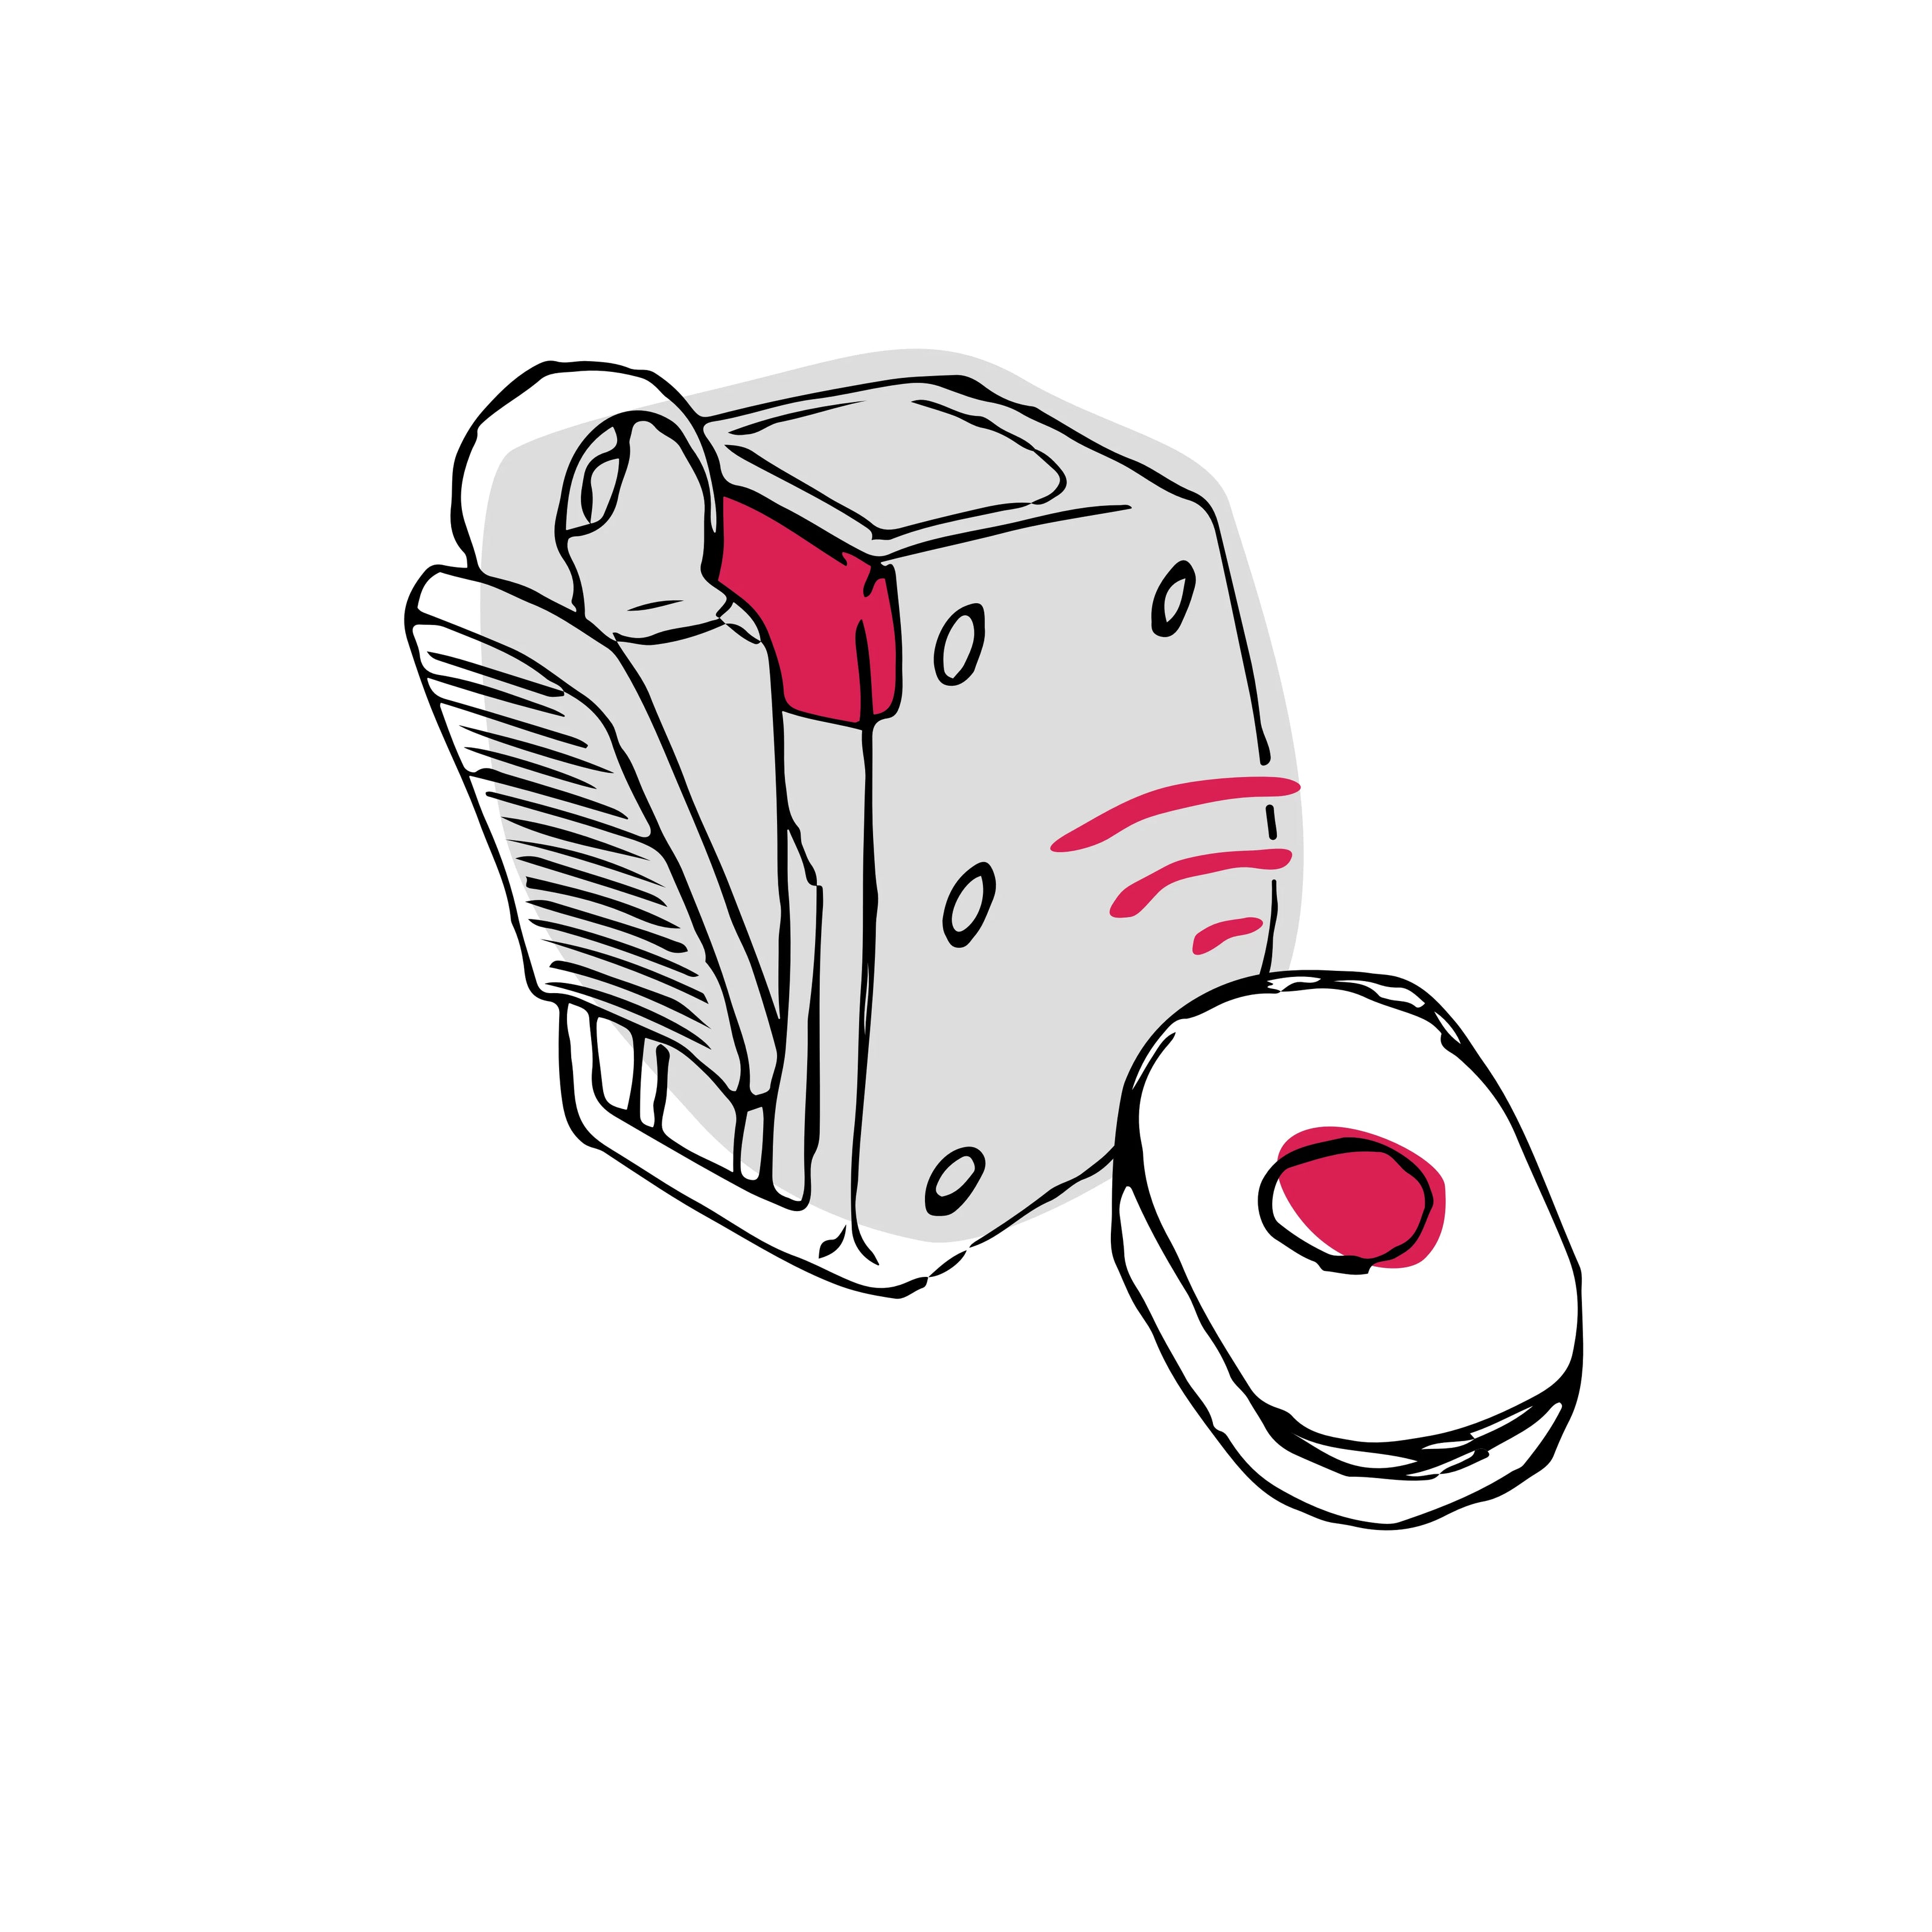 1. To switch on your mySTOPY, hold the remote control directly to the rear light and press the button for 2-3 seconds (remote control should touch the rear light). The rear light dims up and remains on. Your mySTOPY is now in ON mode.
 -
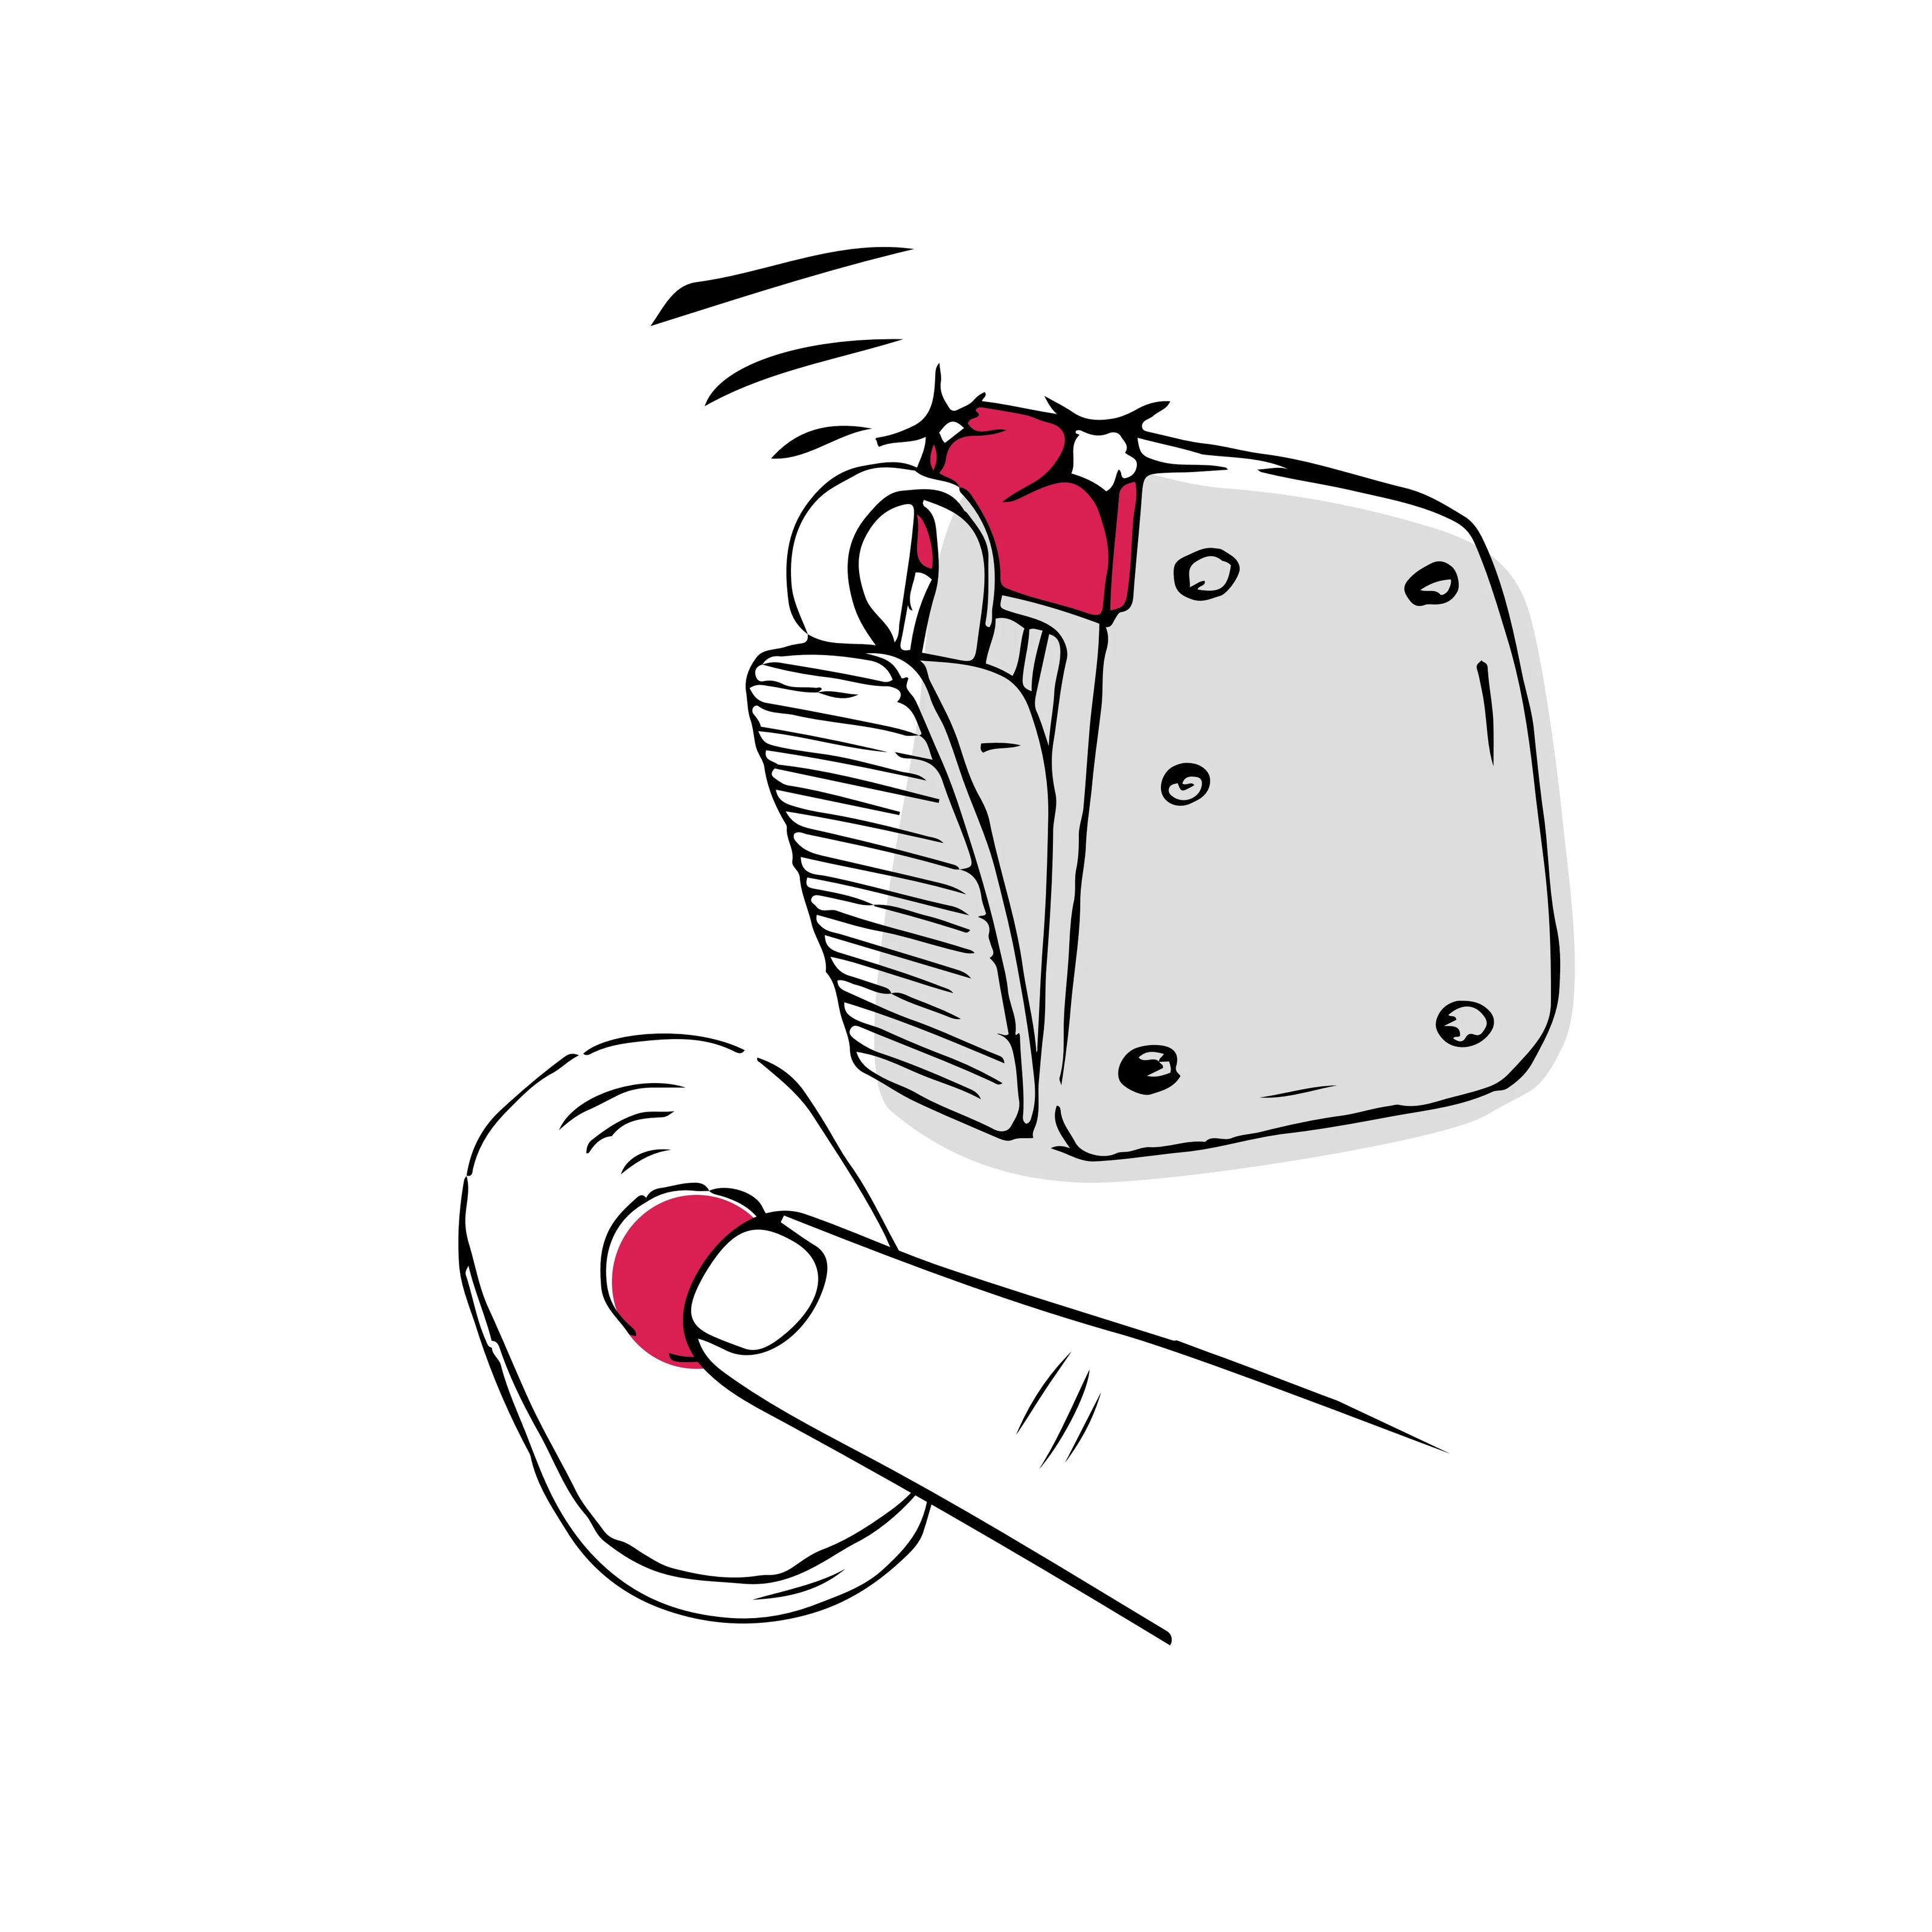 2. Test the function of your mySTOPY by operating the remote control - The braking element falls on the tire and the rear light flashes.
 -
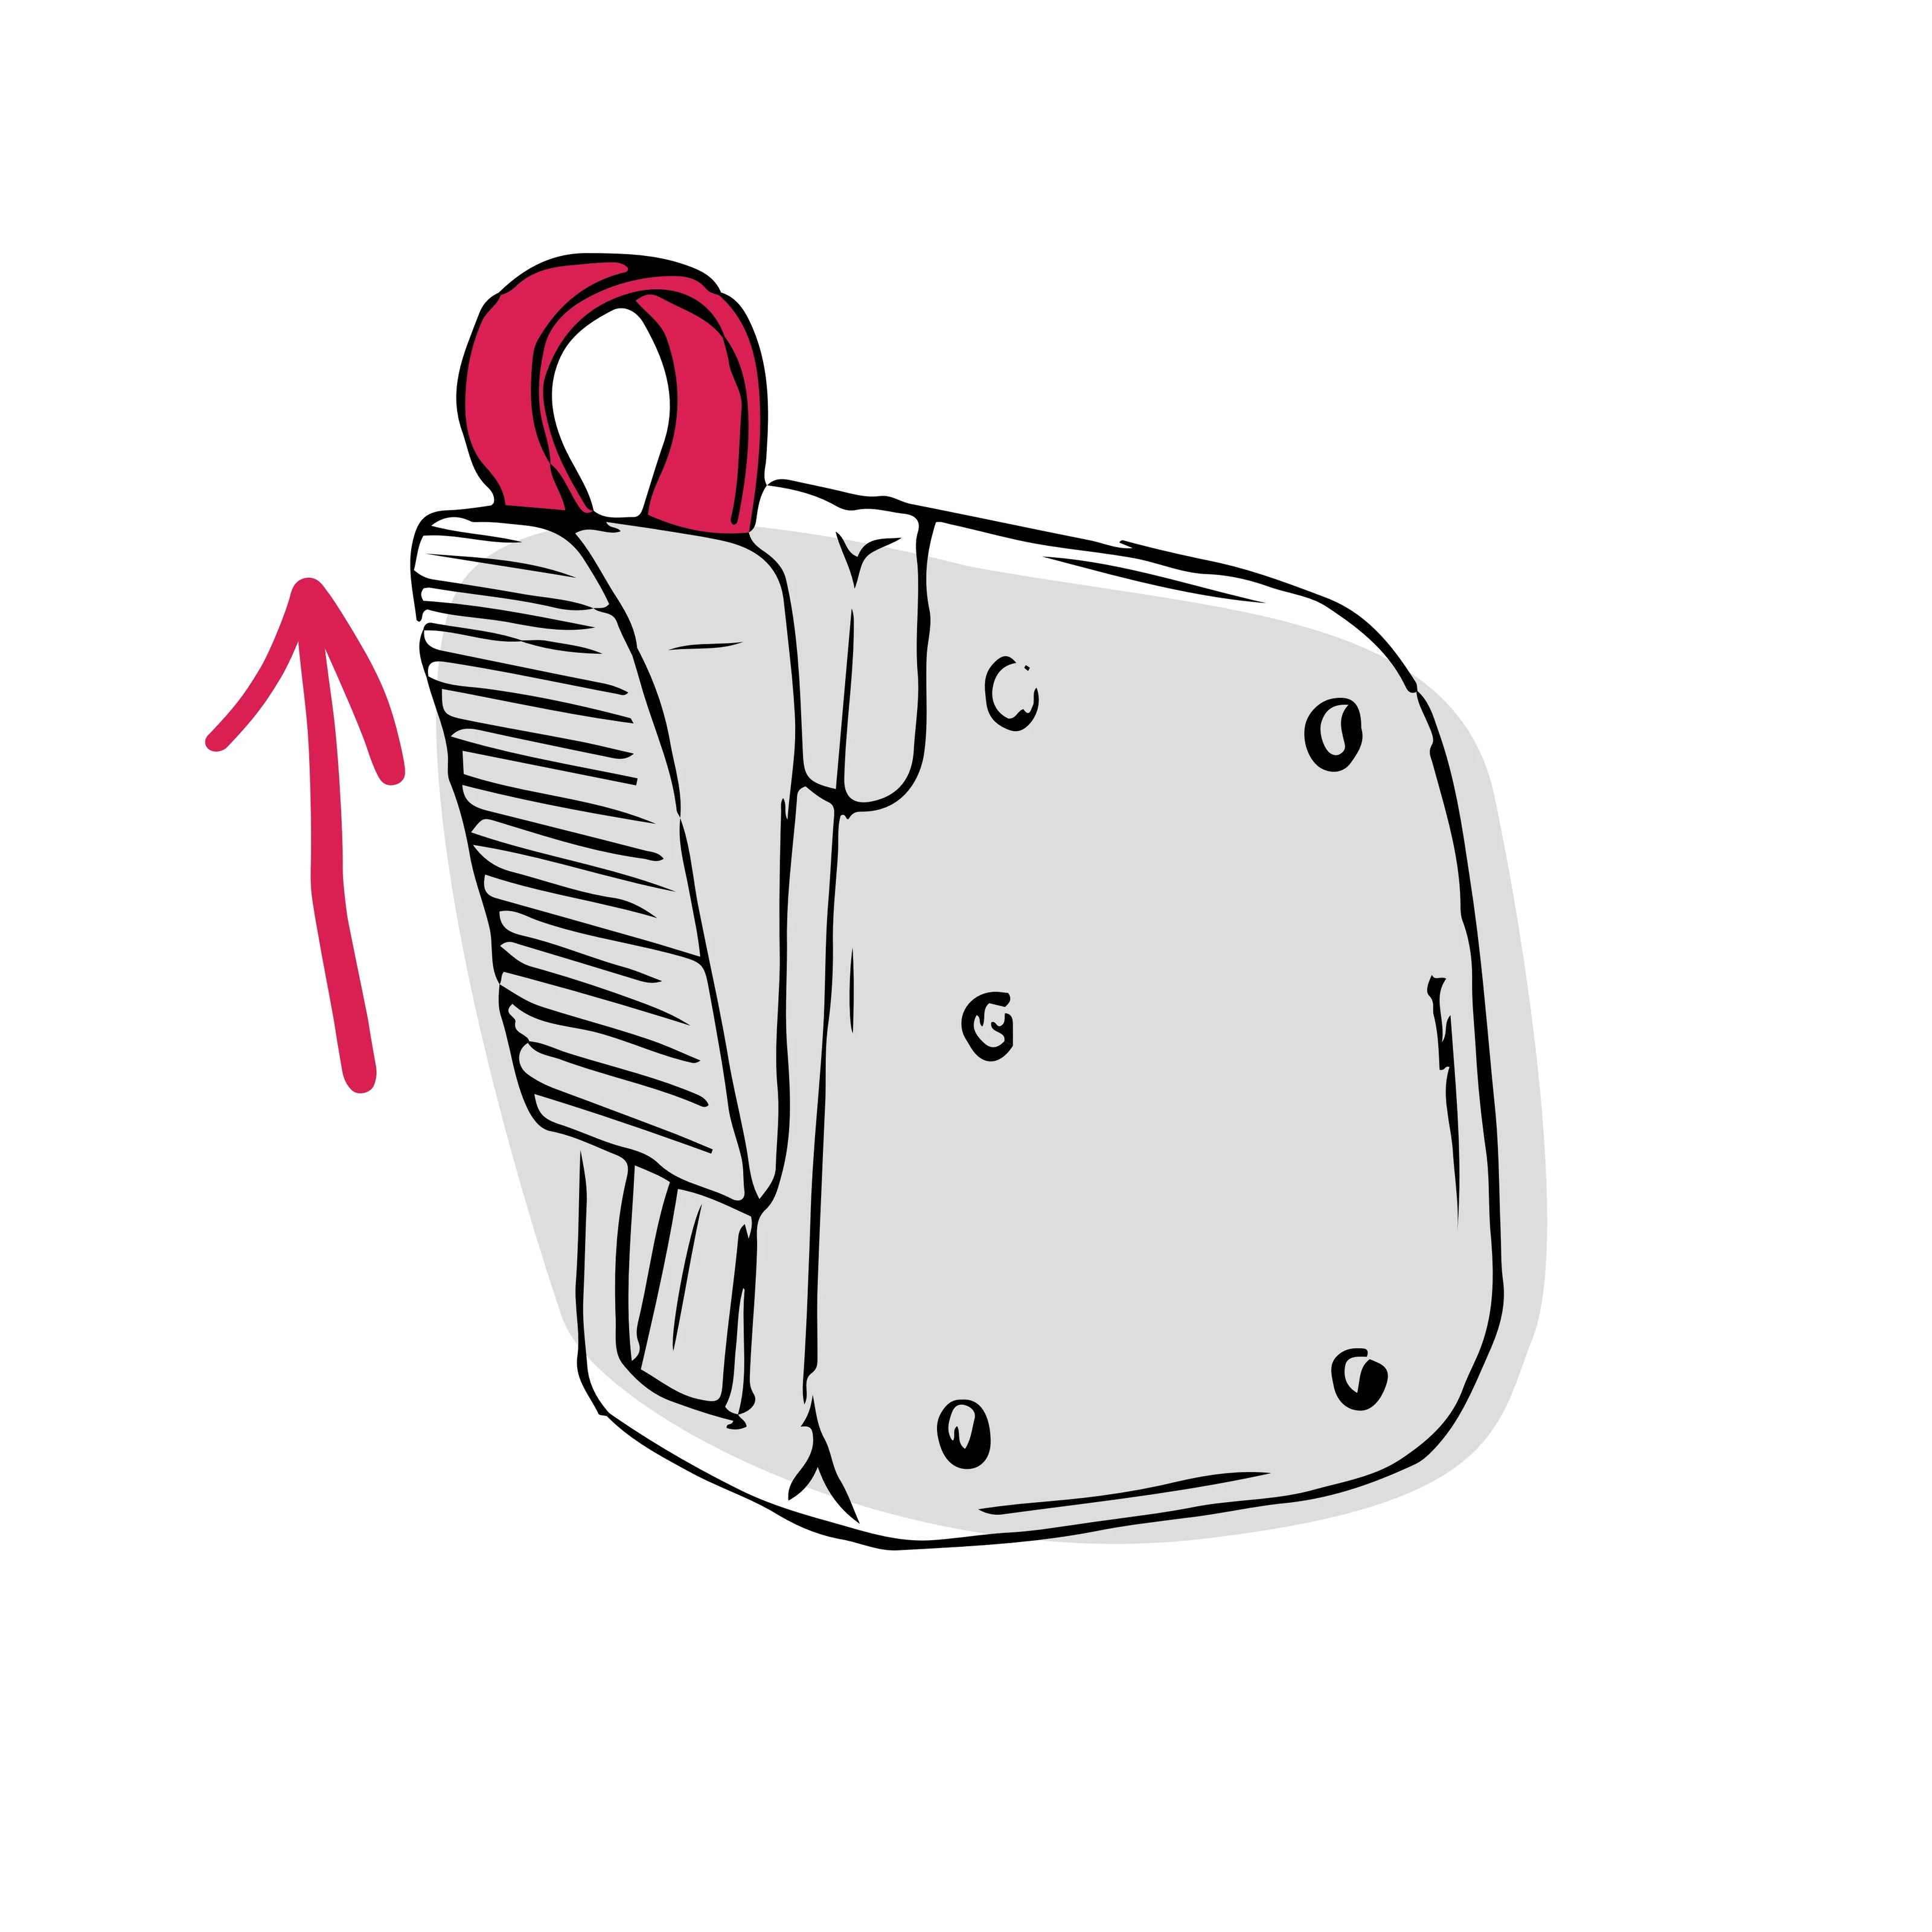 3. Pull the braking element back up. So it's locked and ready for your ride.
 -
4. Done!
Your mySTOPY is now ready to go.
Don't forget:
To save the battery life of your mySTOPY, remember to switch it off after every journey. Just hold the remote control very close to the rear light and press the button of the remote control for a few seconds. The light dims up briefly an then switches off.


